Uploading Sample Images
Note
The max total image size should be no more than 2GB.
Sample images can only be submitted via a Tree of Life profile [1]. Please see: Steps to Create a Tree of Life Profile for guidance.
The file name of sample images must be named as
{Specimen_ID}-{n}.[jpg|png]where{n}is the image number,{Specimen_ID}is the specimen ID of the sample in the manifest andjpgorpngis the extension of the file.
-
Upload samples.
Refer to Samples Submission (Tree of Life (ToL) profiles) section for guidance.
Note
Do not click the
 button after uploading the sample
manifest as you will need to upload the images before submitting the
samples.
button after uploading the sample
manifest as you will need to upload the images before submitting the
samples. -
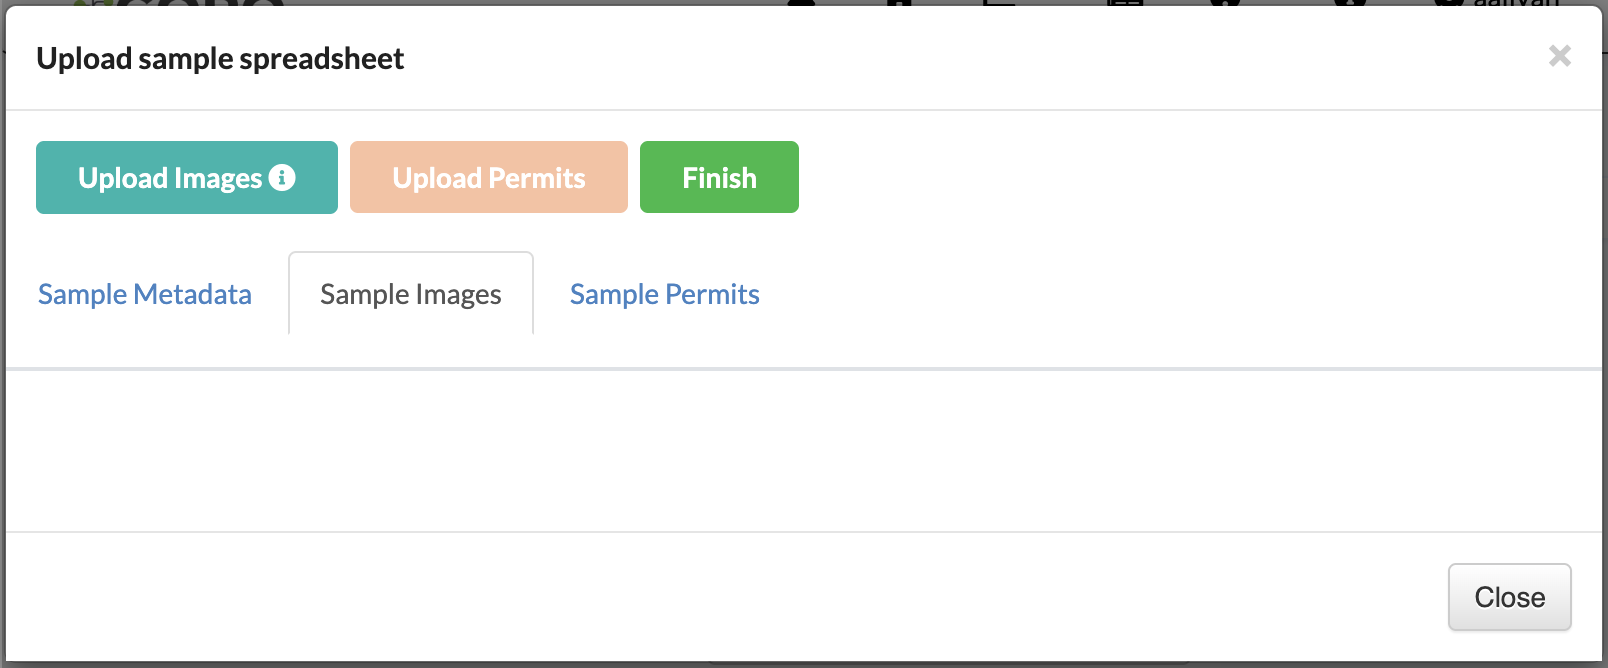
In the sample spreadsheet dialogue, click the Sample Images tab then, click the
 button to upload sample images.
Important
The
button becomes available only after uploading
a sample manifest and must be used in the same session, as image uploads
depend on the sample manifest metadata so ensure that step 1 is
completed in the same session.
Upload sample spreadsheet dialogue with no images
-
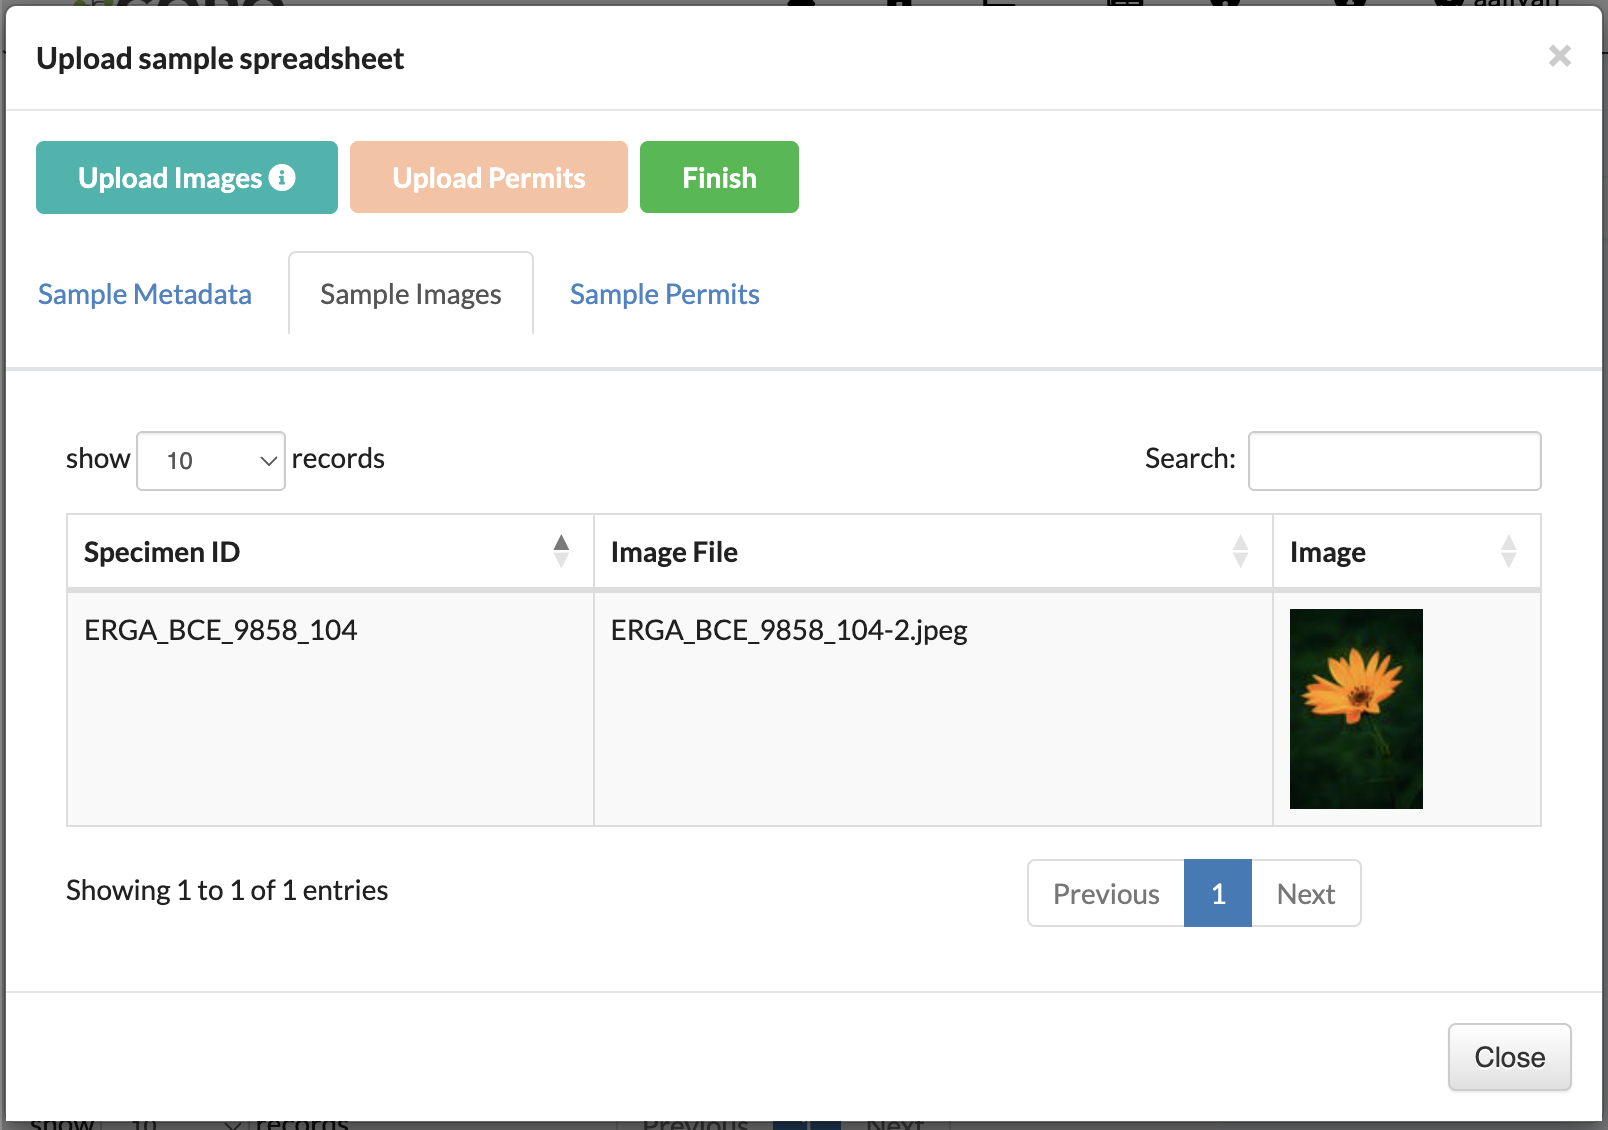
After uploading images, the table is populated with them under the Sample Images tab in the dialogue.

Upload sample spreadsheet dialogue with images uploaded
-
Click the
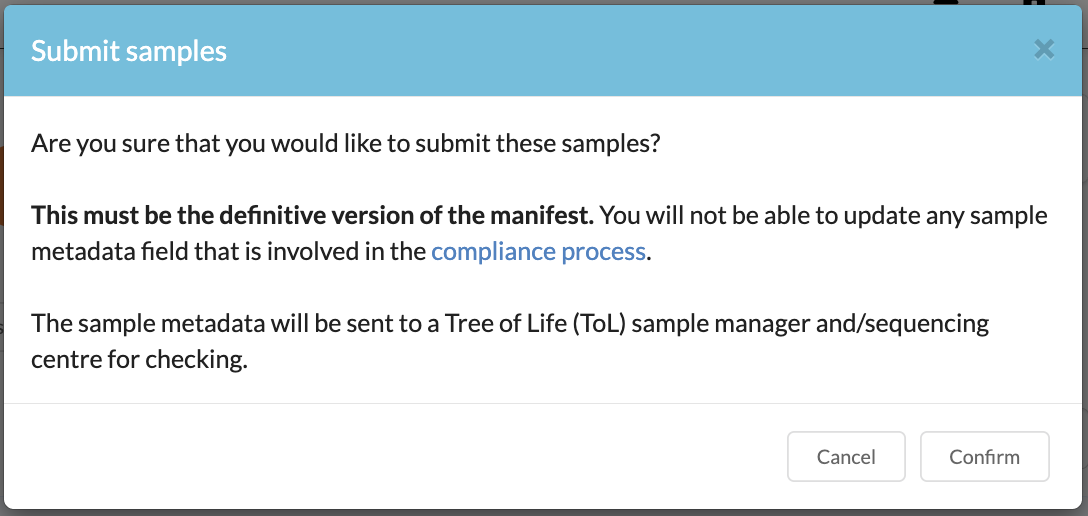
button to submit the images and samples.A Submit samples confirmation dialogue is displayed. If you decide to confirm the sample submission, click the Confirm button.

Confirm sample upload
View Submitted Images
Note
Images can only be viewed after they have been submitted.
Images cannot be deleted or modified after they have been submitted.
On Samples page
-
Navigate to the Samples page.
See Accessing the Samples page section for guidance.
-
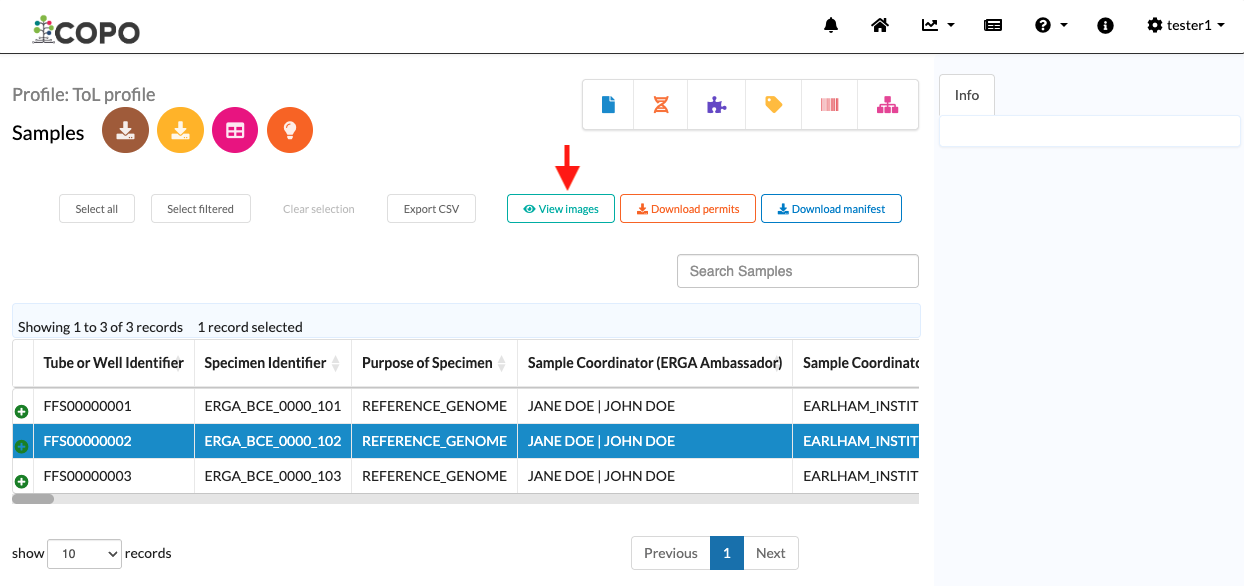
Select the records that you would like to view images for.
Then, click the
 button to view their images.
Tips for selecting records
Tip
Hold
Ctrland click to select multiple records.Hold
Shiftand click the first and last record to select in the range.Click
 to select all records.
Click
 to select all filtered records.
Click
 to unselect selected records.

Click
View imagesbutton
-
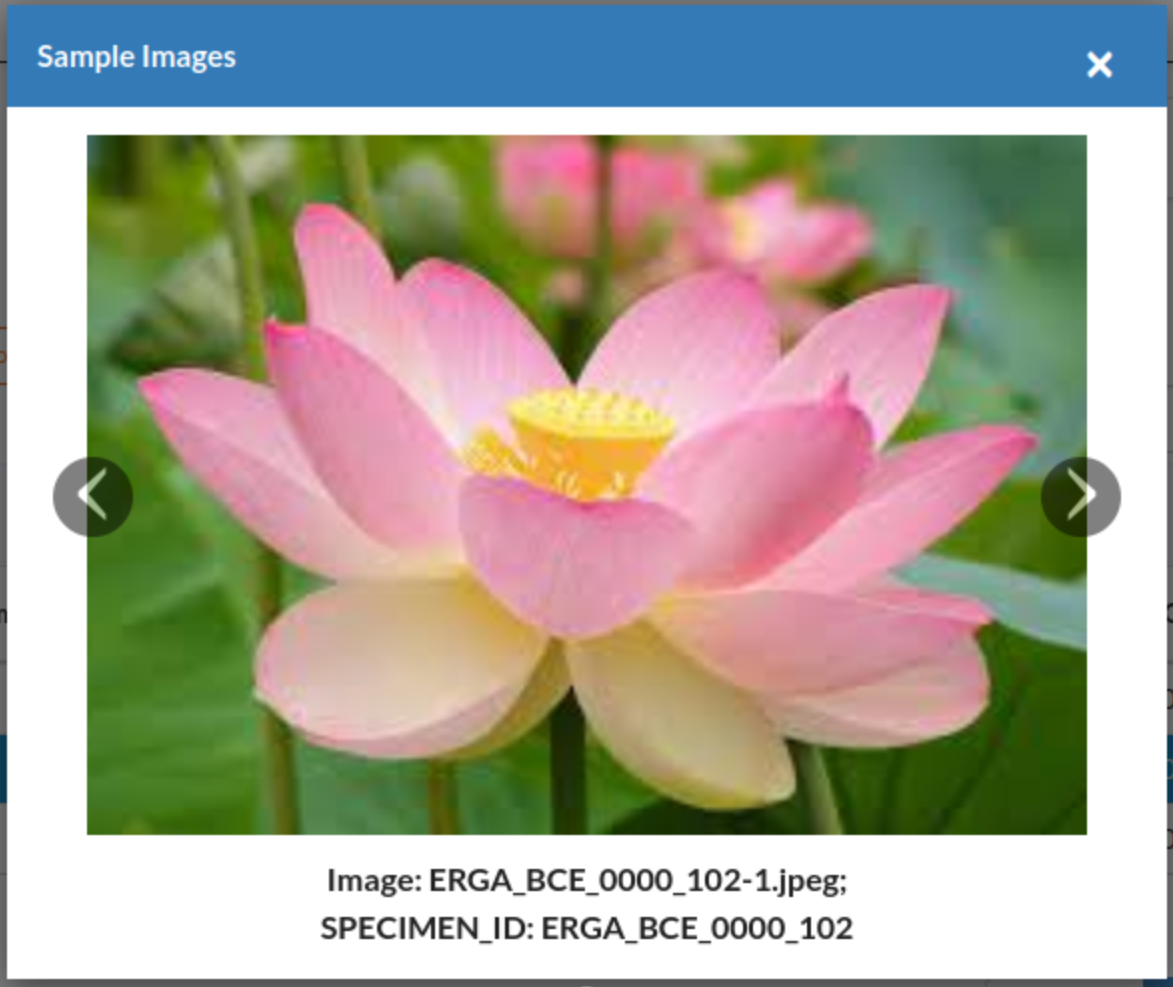
If images exist, a popup will display the submitted images for the selected records.
Hint
Click the image to view a larger version.

Popup showing submitted images for selected records
OR
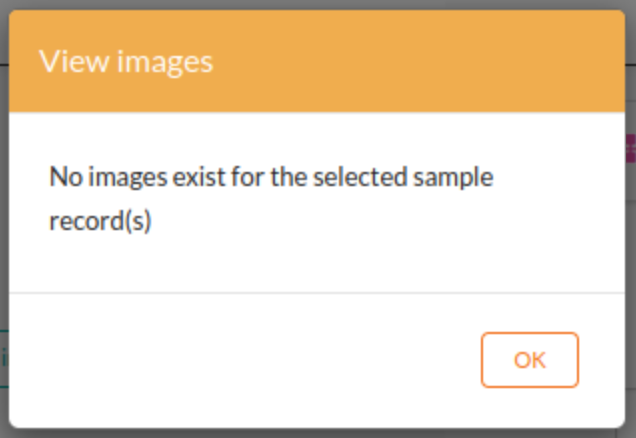
If no images exist, a popup displays a message indicating this.

Popup showing no images exist for selected records
On Accept or Reject Samples page
Assigned sample managers should refer to View submitted images (Sample manager guide) for more information.