Biodata Profile Reads Submission
Prerequisites & Notes
Important
This section applies if you are submitting reads to a Biodata profile [1]. For reads submissions under Tree of Life (ToL) [2] profiles, see Tree of Life Profile Reads Submission section.
A Biodata profile is needed to proceed with this section. Refer to Steps to Create a Biodata Profile to create one. Skip this step if you have already done so.
Note
Once reads have been submitted, they cannot be deleted.
Submit samples before uploading Reads manifests. See Samples submission (under Biodata Profiles) for details.
Upload all required data files before submitting Reads manifests. See: Uploading Data Files.
Accessing the Reads Page
The Reads [3] page can be accessed via the Components button or via the components icon navigation pane when viewing another component’s page associated with a Biodata profile [1].
Using the Components Button
Click the  component button in the Components
column as shown below:
component button in the Components
column as shown below:
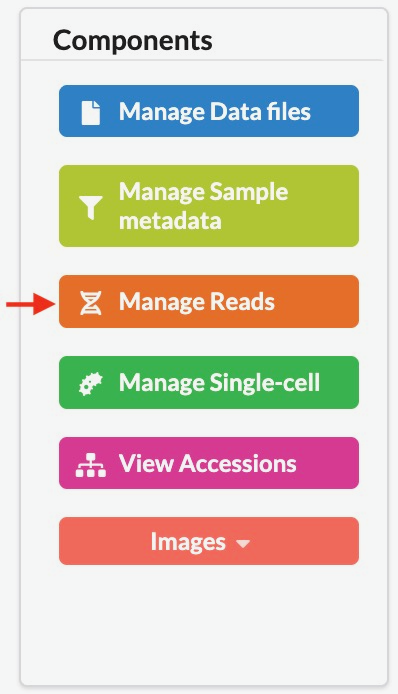
Reads component button (located under Biodata profiles)
Using the Components Icon Navigation Pane
If you are unsure what each icon represents, you can perform any of the following:
Hover over the icon in the component icon navigation pane to see a tooltip with the component’s name
Refer to the component button image above
Refer to the What are profile components? FAQ
Note
The navigation pane will not display the icon associated with the page that is currently being viewed.
If a component has subcomponents, a dropdown menu is shown when at least two items are available. However, if you are viewing a subcomponent’s page and only one item remains, that item is displayed directly in the navigation pane.
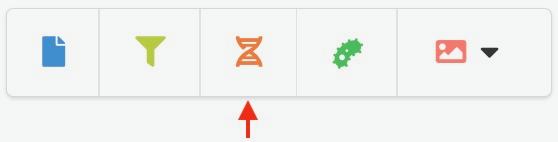
Navigation pane showing the Reads component icon
Upload Reads
-
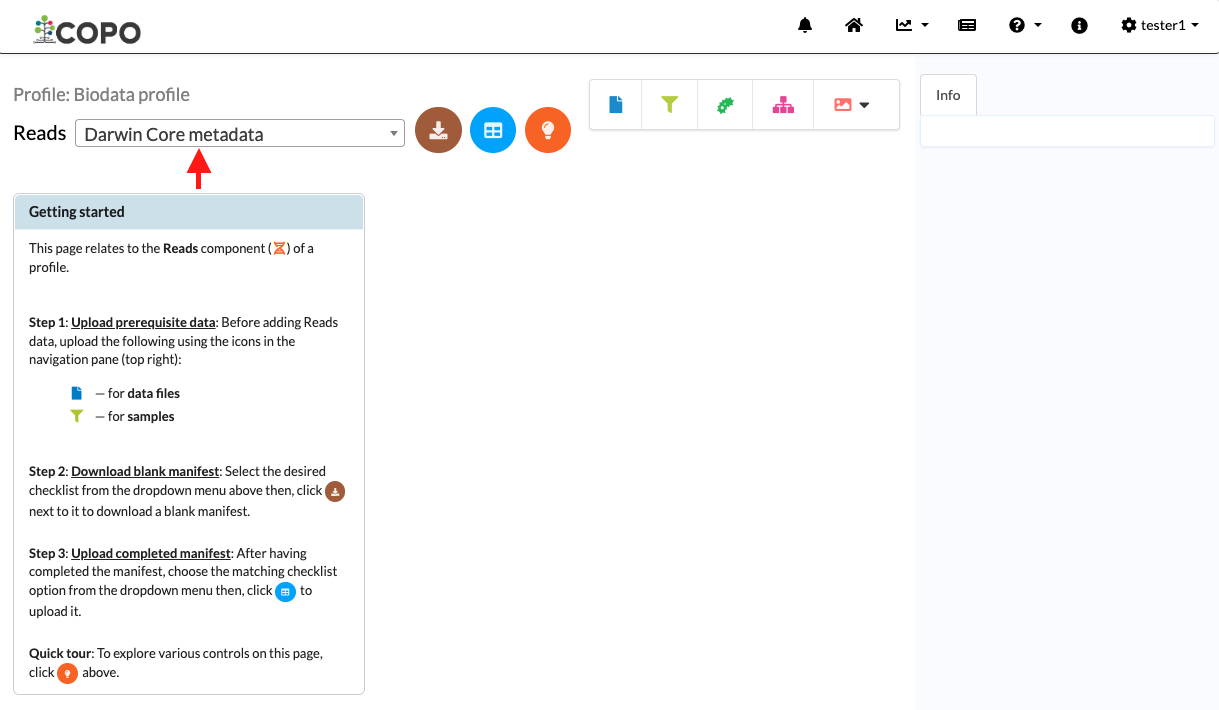
Click the dropdown menu to choose a checklist [4].

Pointer to dropdown menu for reads
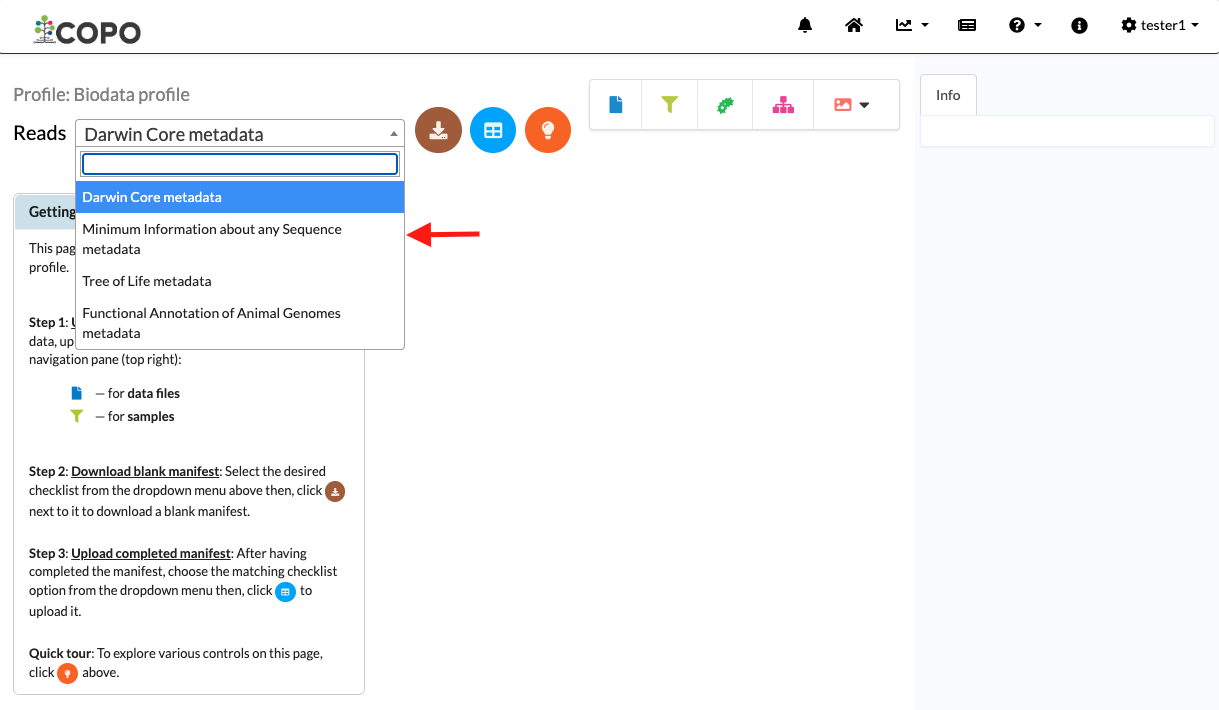
Hover over each option to view its description.

Checklist options for read submissions
-
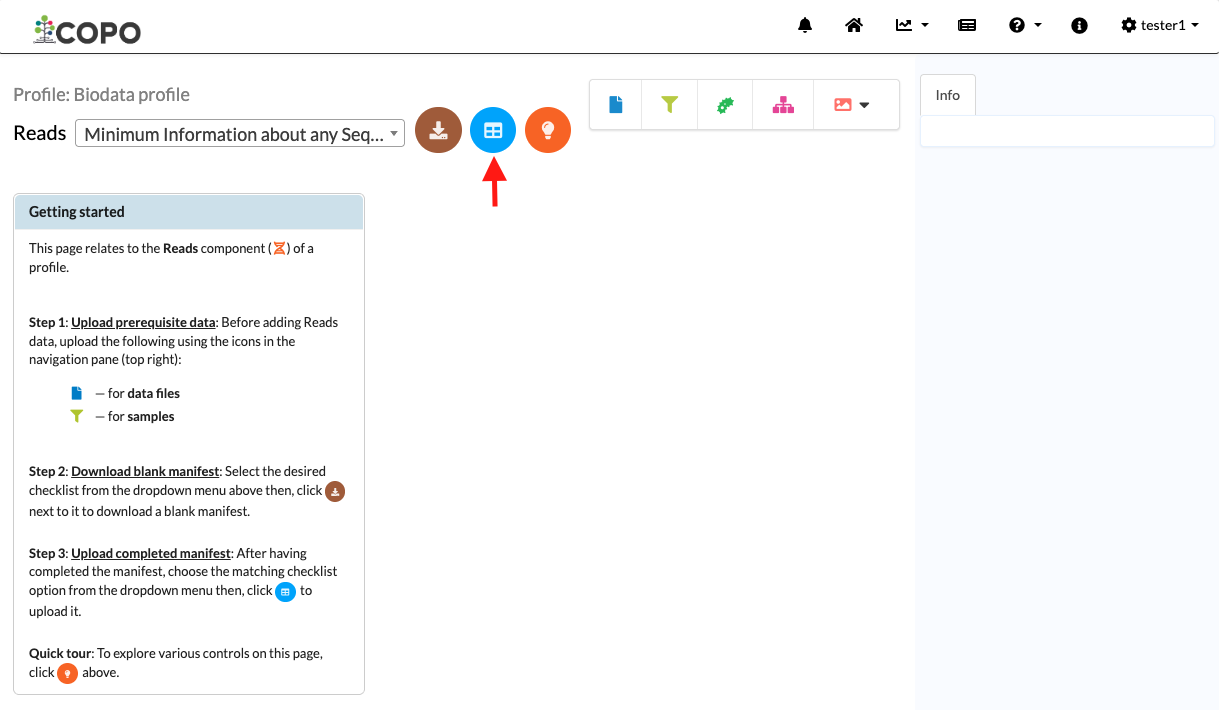
Click the
 button to download
a blank manifest [5].
button to download
a blank manifest [5].A manifest is a spreadsheet file used to record metadata for submission.
-
Fill in the downloaded manifest then, click the
 button to upload it from your local
(computer) system.
button to upload it from your local
(computer) system.Note
Please ensure that the manifest that you are uploading matches the checklist type selected in step 1. You will encounter errors if the uploaded manifest does not correspond with the selected dropdown menu checklist option.

Click “Add study from spreadsheet” button to open an upload dialogue
-
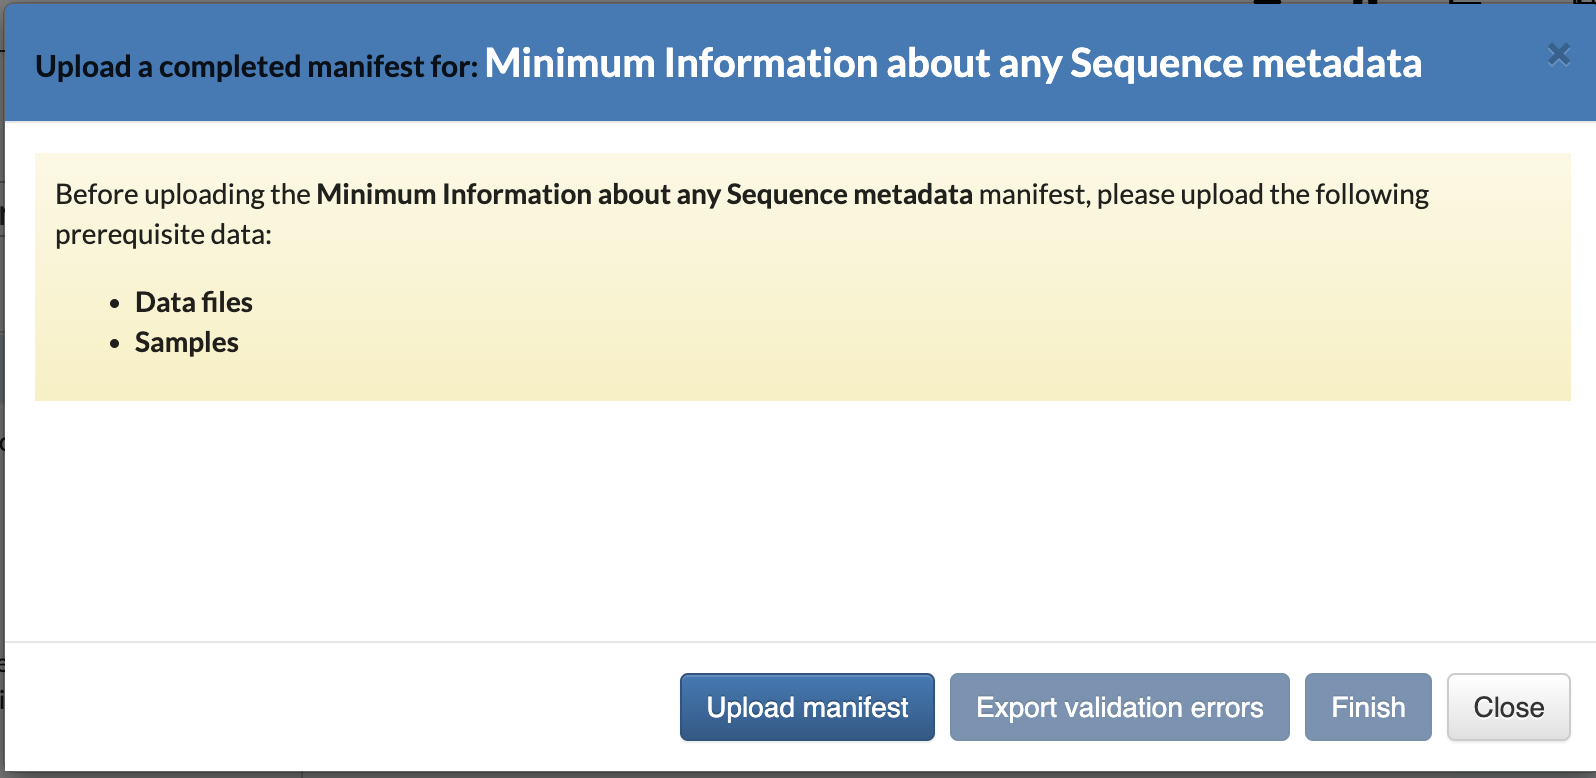
A dialogue is displayed. Click the
 button in the dialogue to choose the spreadsheet file from your local system.
Click ‘Upload manifest’ button
-
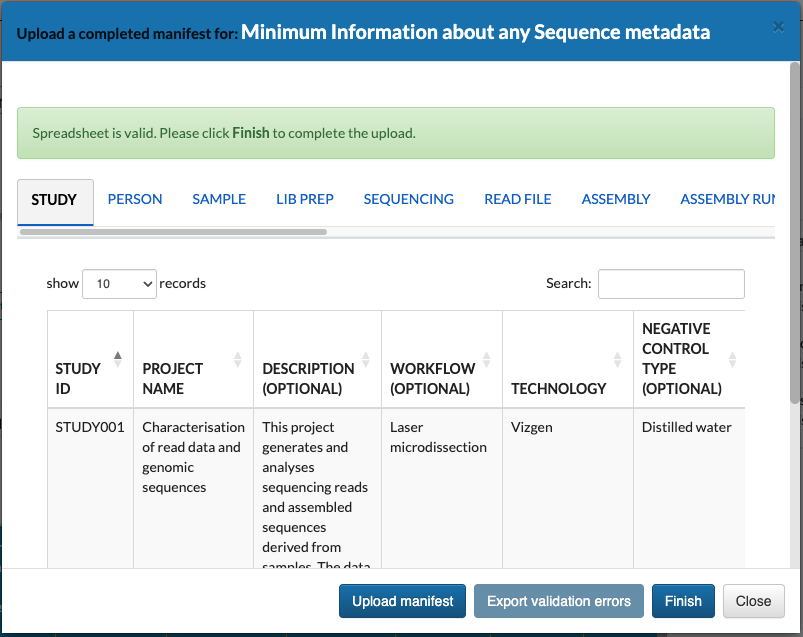
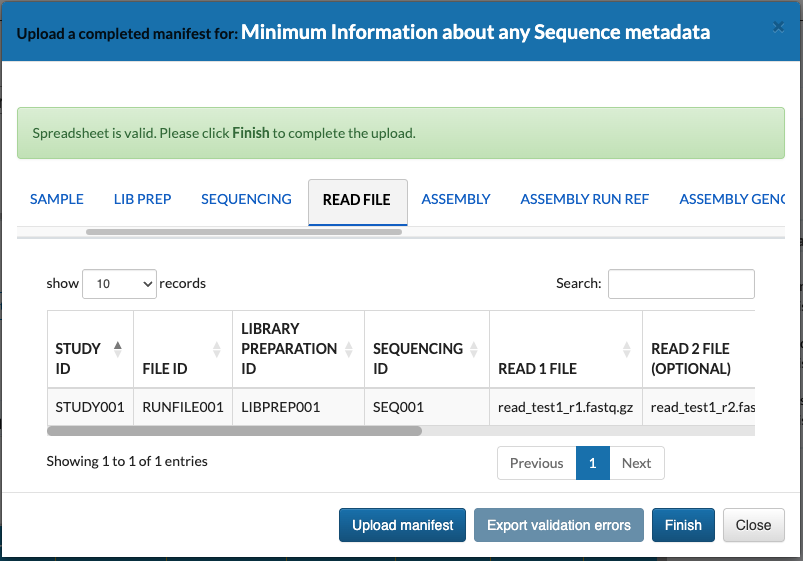
The uploaded data is shown in a preview before final submission. Click the
 button to finalise the upload.
Reads upload preview (under the STUDY tab)

Reads upload preview (under the READ FILE tab)
-
The new reads data will be displayed on the Reads page after a successful validation.
Note
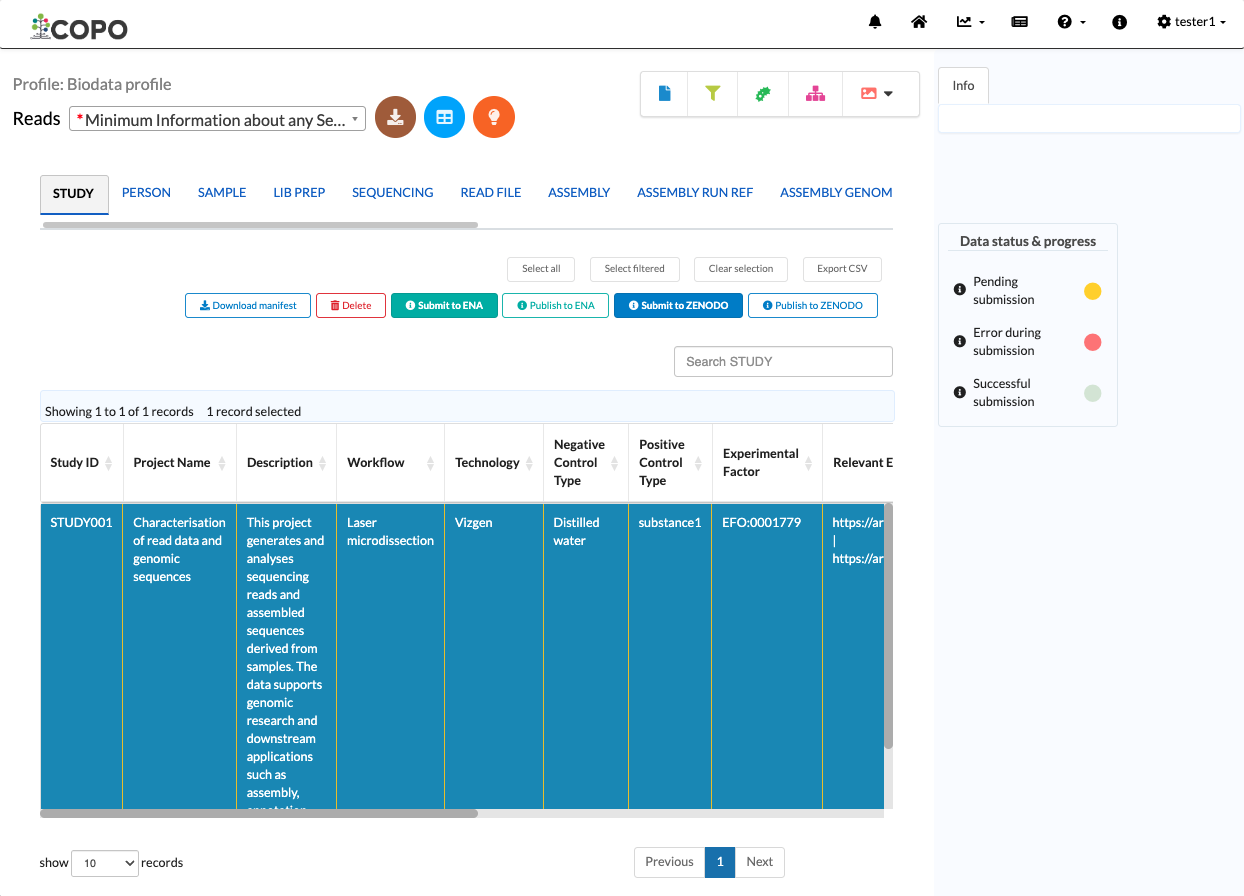
The first record in the STUDY tab is selected by default.
Each tab represents a worksheet in the manifest. Only worksheets with data appear as tabs.

Reads page showing the uploaded data
Submit Reads
Note
Follow the steps in Upload Reads to upload data before proceeding with the submission.
-
The following repositories are supported for Reads submissions:
European Nucleotide Archive (ENA) via
 button
Zenodo via
 button
-
After uploading data, select a row in the data table under the STUDY tab.
Then, click the
button to submit the selected
record to ENA or button to submit to Zenodo.Hint
The first row of the data table under the STUDY tab is selected by default. Selected rows are indicated by a blue background colour.
Note
Please ensure that the selected record is under the desired checklist option. If not, choose another option from the dropdown menu, then select a row in the data table.
Wait for the submission process to be completed. The submitted record’s status and accessions can be viewed in the data table’s respective columns. See the sections below for details.
Make Data Public
Submissions are private by default. You can make the data publicly accessible by referring to the steps in the Publishing Data at Data Level section.
View Submission Status
Hint
The Data status & progress legend, located on the right side of the
data table, shows the different stages of submission processing. Hover over
the  to see description for each status.
For more details, see the How can I check the status of my data submissions? FAQ section.
The submission will be scheduled for processing after the
or button is clicked.
The row of the submitted record will be highlighted in green indicating that
the submission has been successful.
If the submission was unsuccessful or has not been assigned any accessions, the table row will be highlighted in red. Its status is indicated in the following columns:
Status for Ena - Displays the ENA status assigned to the project
Status for Zenodo: Displays the Zenodo status assigned to the project
View Accessions
Accessions are unique identifiers assigned to submissions after they have been successfully submitted to public repositories.
The accession columns are:
Accession for Ena - Displays the ENA accession assigned to the project
Accession for Zenodo: Displays the Zenodo accession assigned to the project
Clicking any accession in the data table will open the corresponding record in the associated repository. You can also find the same record by searching for the accession directly in the repository.
Tip
Alternatively, click the  icon located in the
top-right corner of the data table to navigate to the Accessions page
that displays accessions for all submissions.
icon located in the
top-right corner of the data table to navigate to the Accessions page
that displays accessions for all submissions.