Files Submission
How to Submit Files
Hint
See ENA assembly submission file types documentation for the types of files that can be submitted in COPO for assembly submissions.
See ENA read submission file types documentation for the types of files that can be submitted in COPO for read submissions.
See also
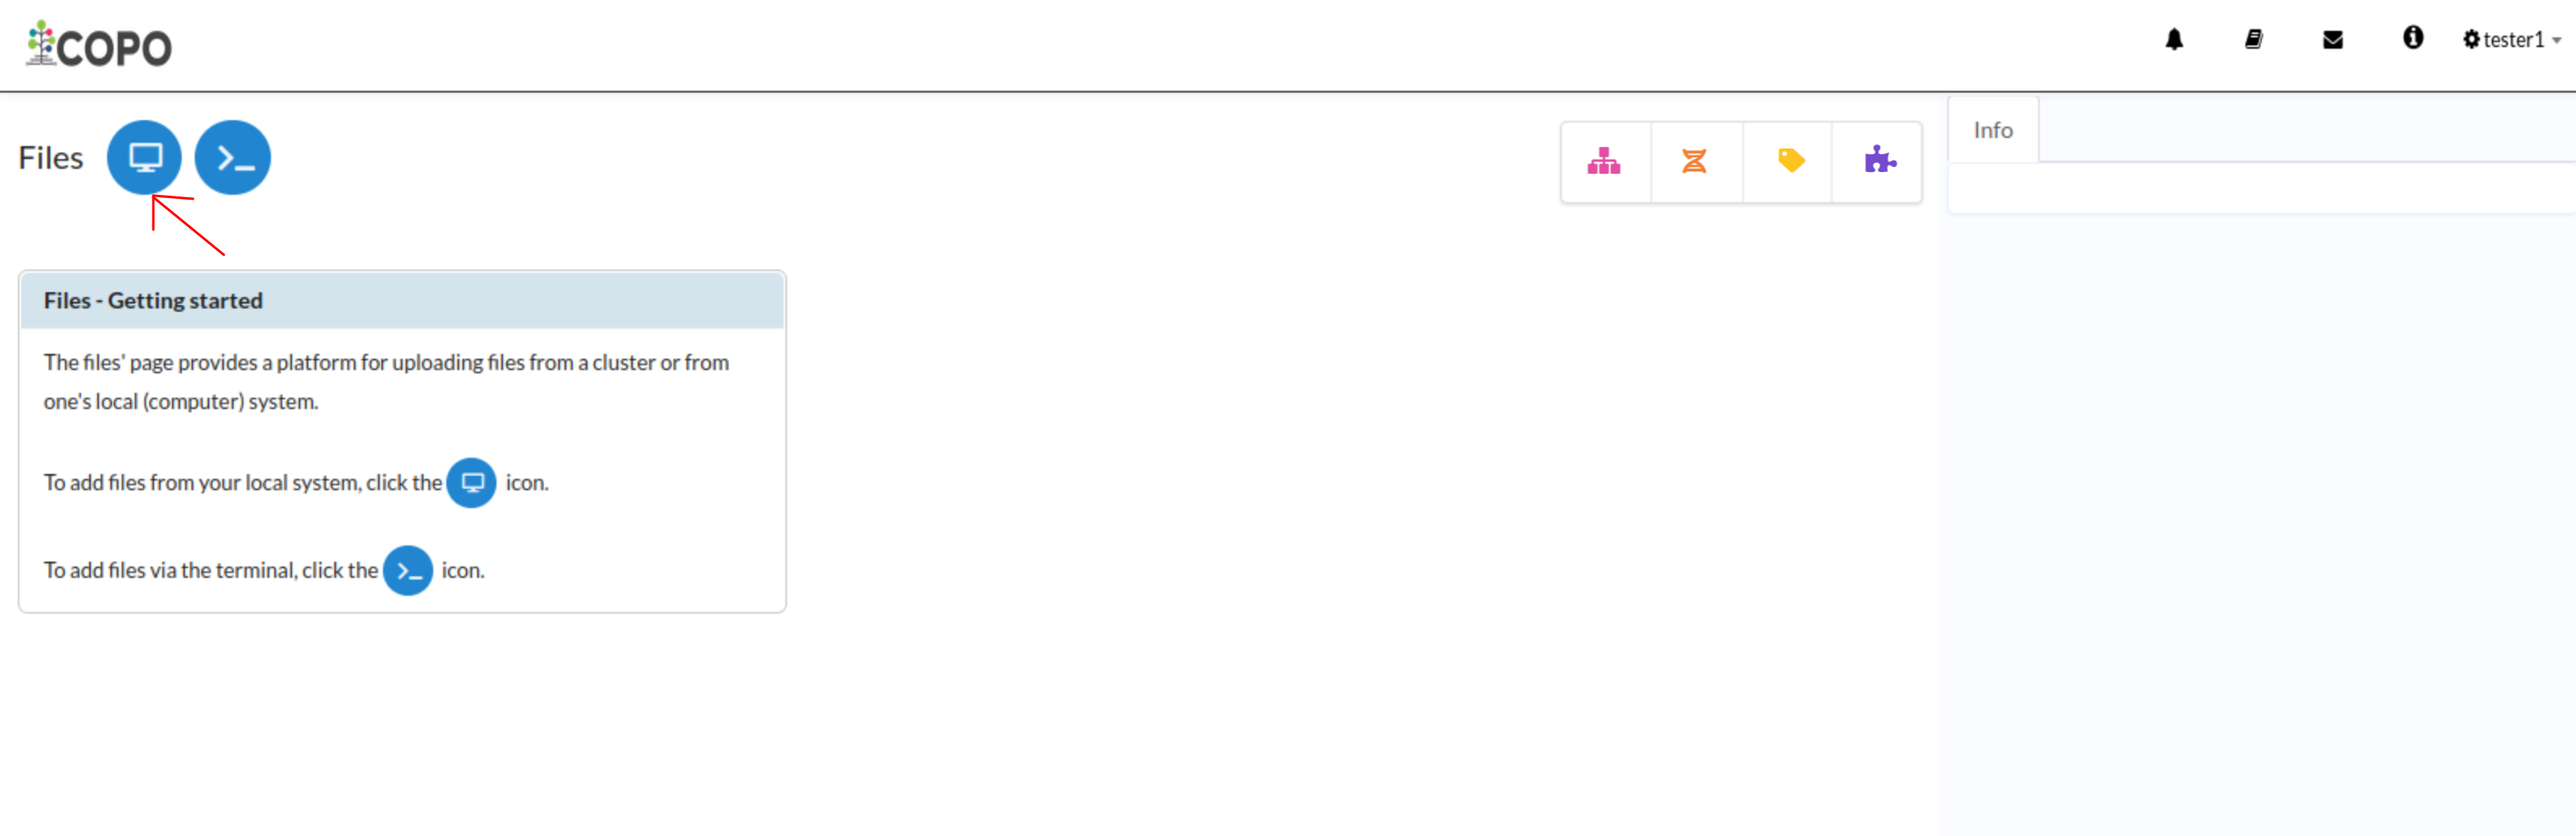
Accessing the Files’ Web Page
The Files’ web page can be accessed from the Components button or Actions button associated with a profile [1].
Use Components’ Button to Navigate to Files’ Web Page
Click the 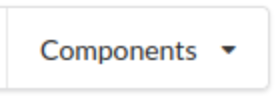 button associated with a profile. Then, click the
  from
the popup menu displayed as shown below:
from
the popup menu displayed as shown below:
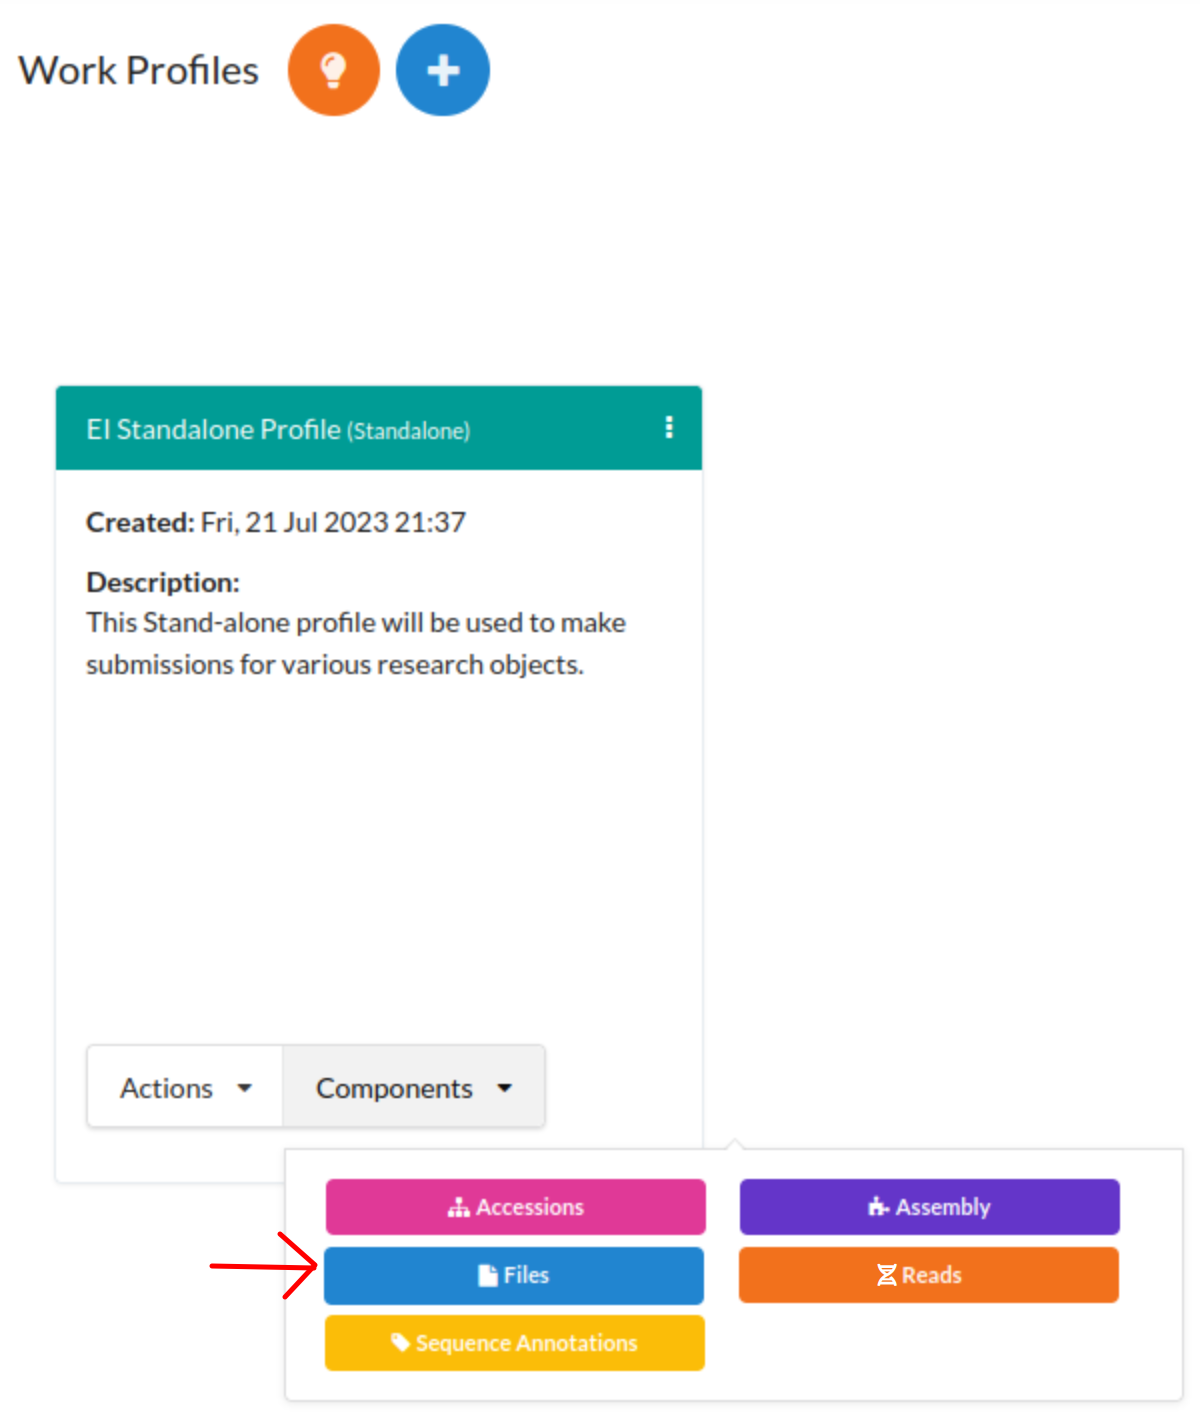
Stand-alone Profile Components: Files component button
Use Actions’ Button to Navigate to Files’ Web Page
Click the 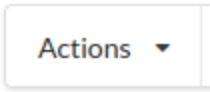 button associated with a profile. Then, click the action, Upload Files action
from the popup menu displayed as shown below:
button associated with a profile. Then, click the action, Upload Files action
from the popup menu displayed as shown below:
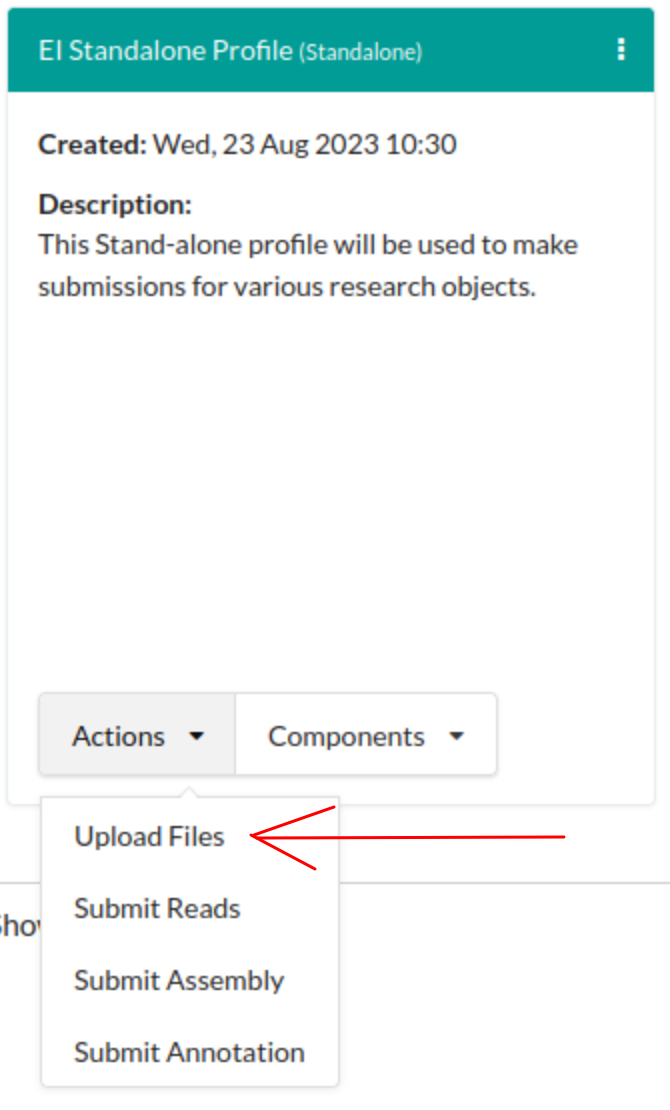
Stand-alone Profile Actions: ‘Upload Files’ action
Submit Files from your Local (Computer) System
Note
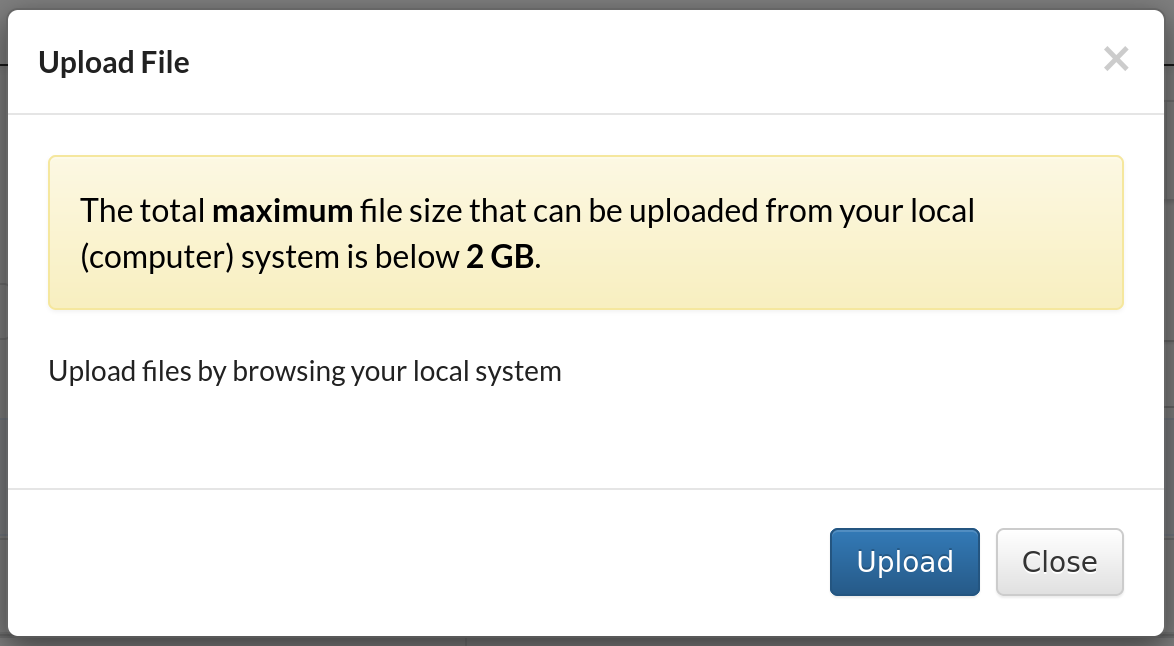
The total maximum file size that can be uploaded from your local (computer) system is around 2 GB. If you have a file larger than 2 GB or have multiple files whose combined total size exceeds 2 GB, please submit the file(s) via the terminal.
-
Click the
 button on the Files web page to add a new file by browsing your
local file system
button on the Files web page to add a new file by browsing your
local file system
Files web page: ‘Add new file by browsing local file system’ button
-
An Upload File dialogue is displayed. Click the Upload button to choose a file from your local system.

Files submission: Upload File dialogue
-
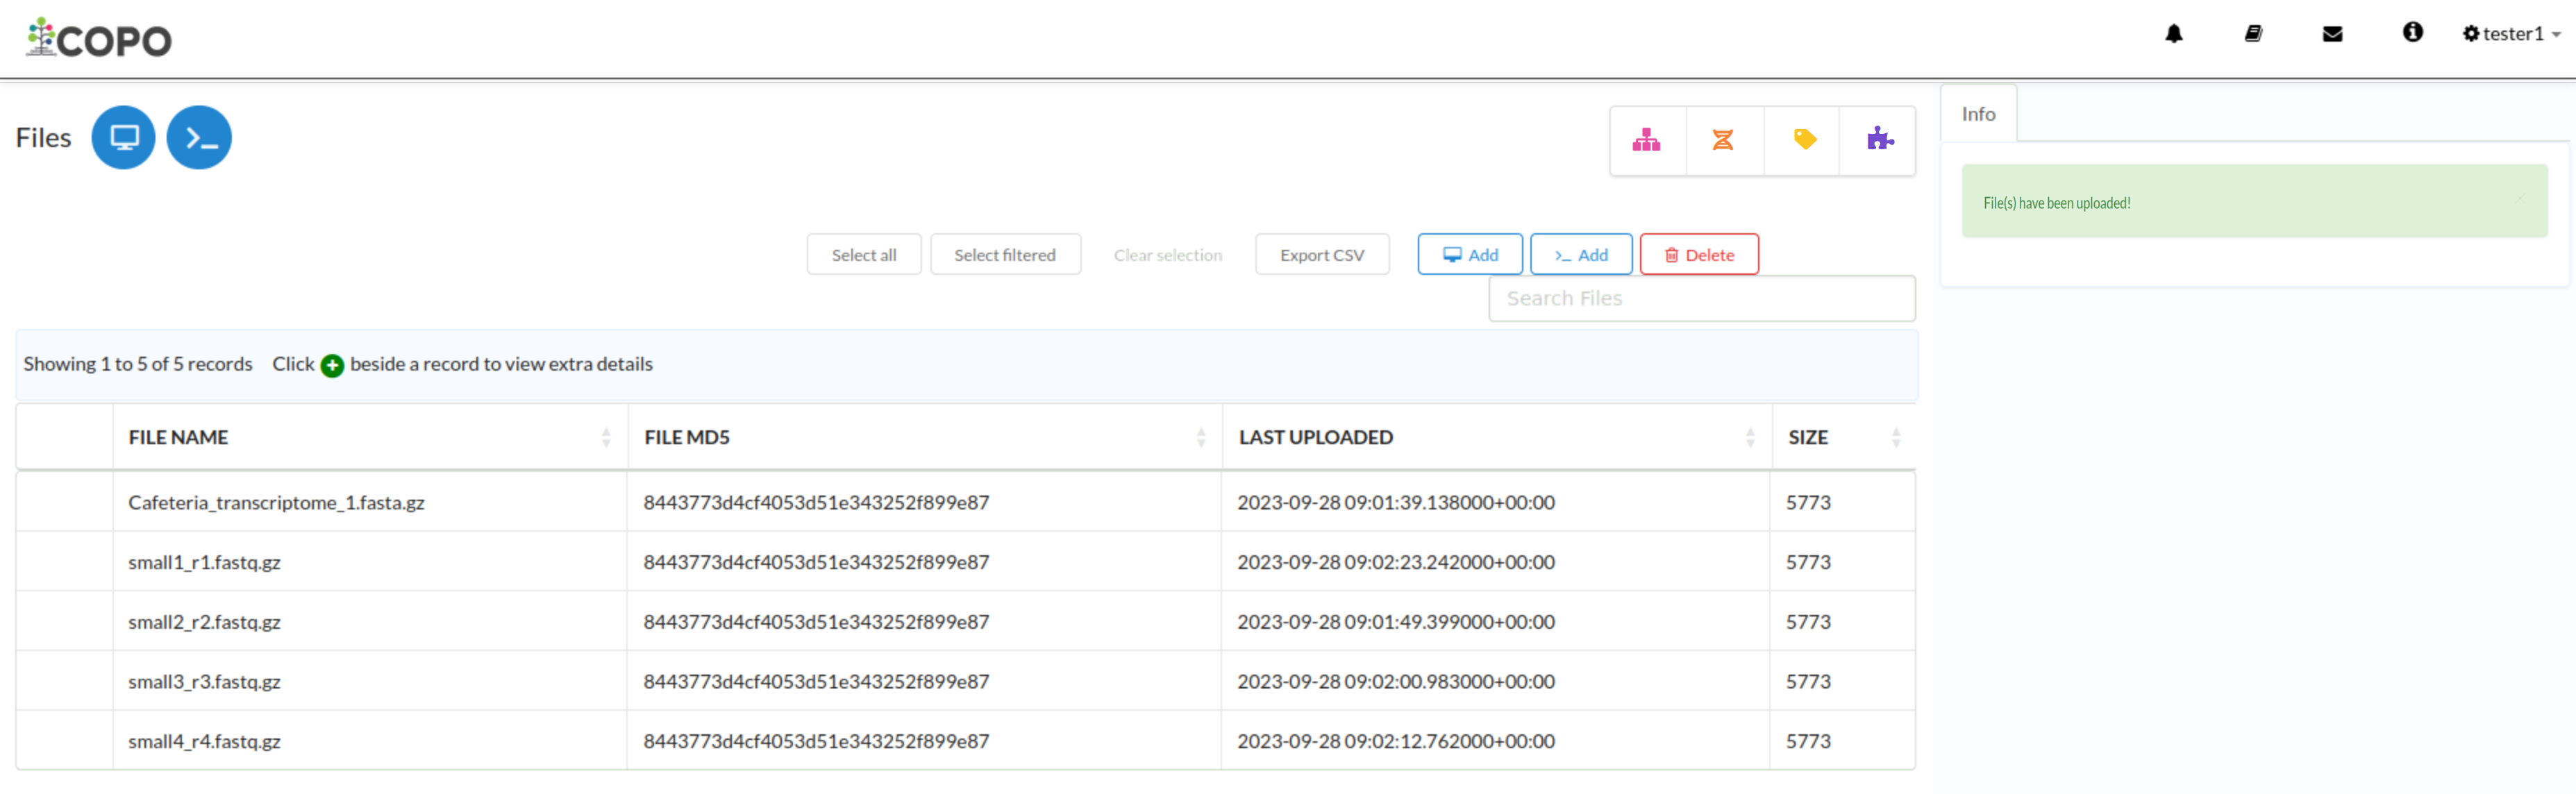
The new file(s) will be displayed on the Files web page after a successful submission.

Files submission: Files’ web page displaying the uploaded file(s)
Hint
To add more files from your local system, click the
 button (once files have been
submitted to the profile) as an alternative to clicking the button.
button (once files have been
submitted to the profile) as an alternative to clicking the button.
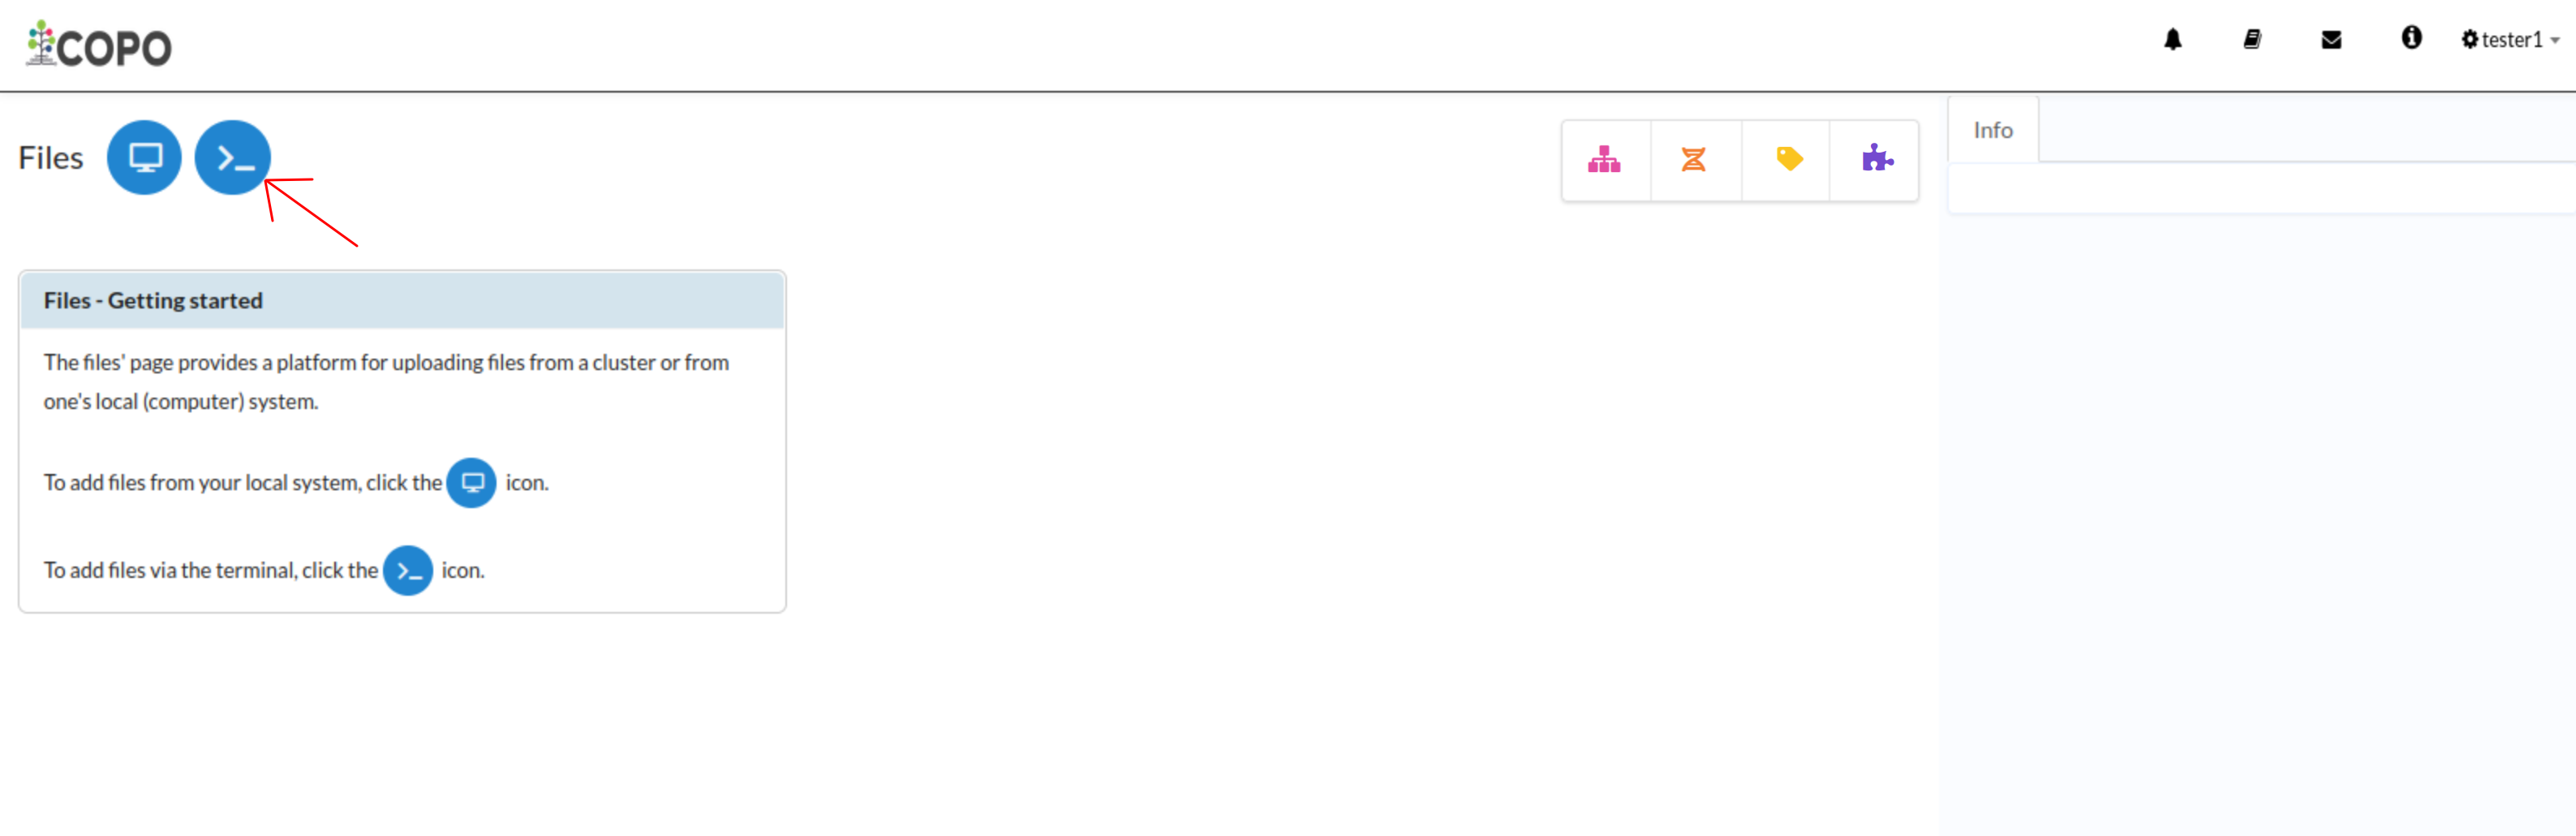
Submit Files via the Terminal
-
Click the
 button on the Files web page to add a new file from a cluster via the
terminal.
button on the Files web page to add a new file from a cluster via the
terminal.
Files web page: ‘Add new file via terminal’ button
-
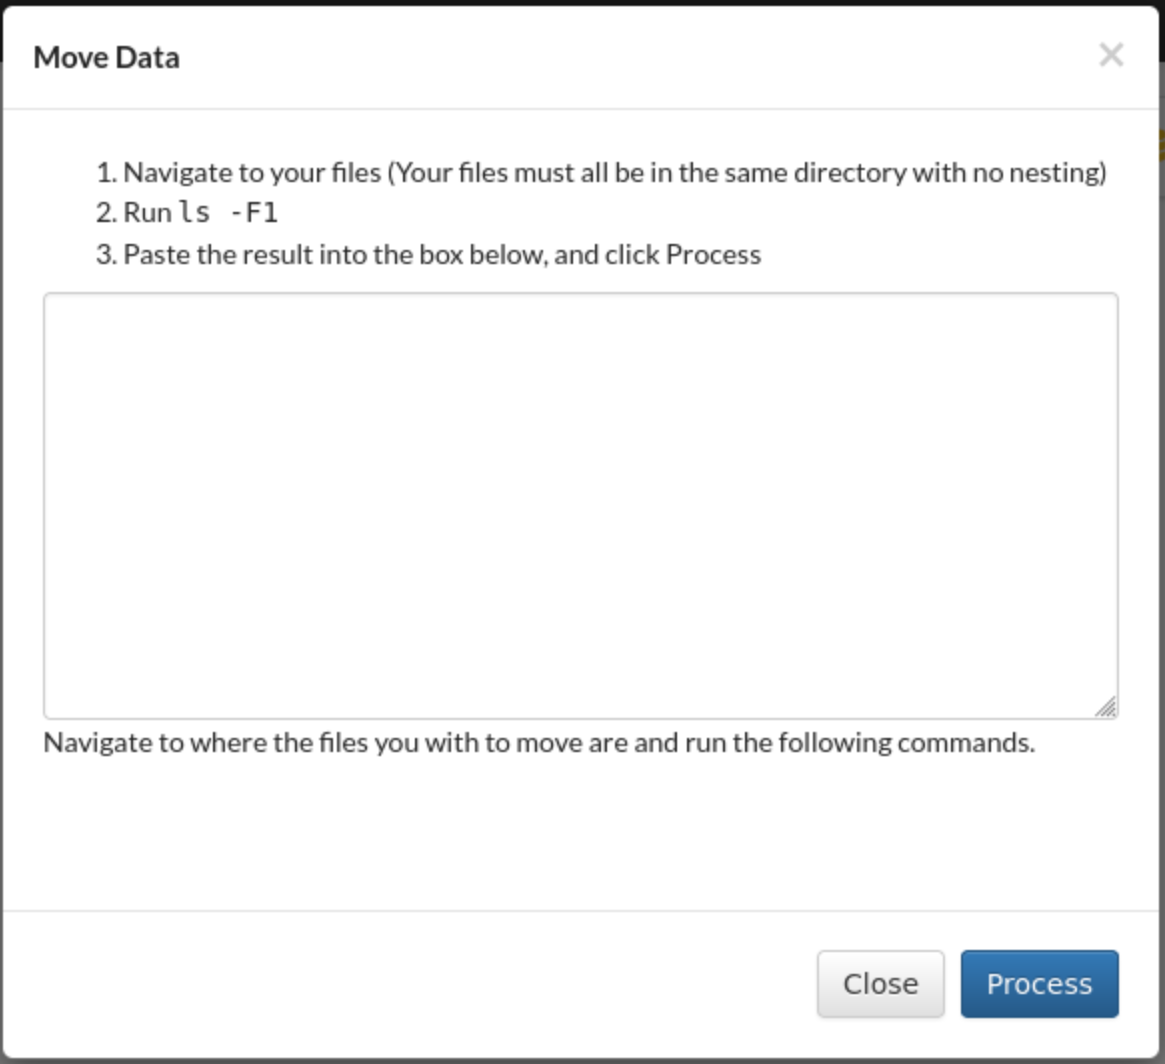
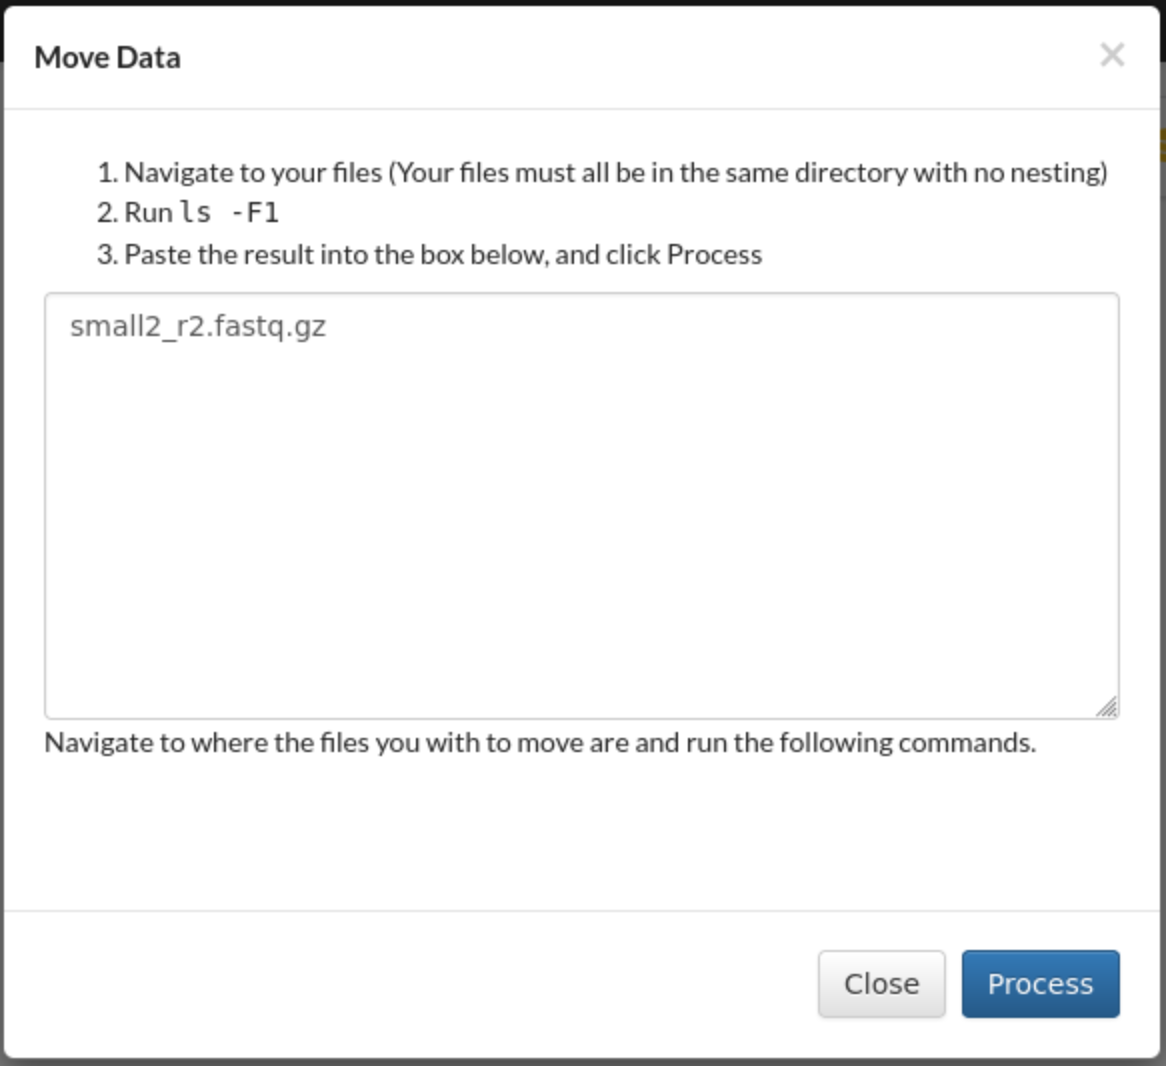
A Move Data dialogue is displayed. Follow the instructions displayed then, click the Process button to submit the file(s) to the profile.
Files submission: Move Data dialogue
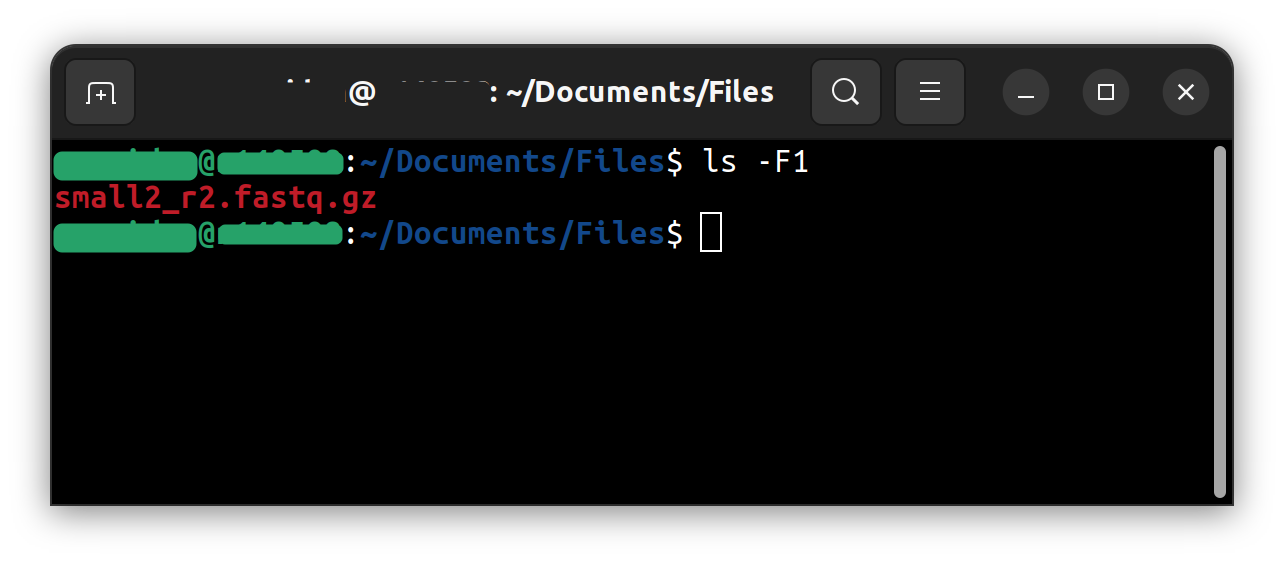
Input $
ls - F1command in the terminal

Move Data dialogue: Input the filename(s) returned after having ran the $
ls - F1command in the terminal. Then, click theProcessbutton.
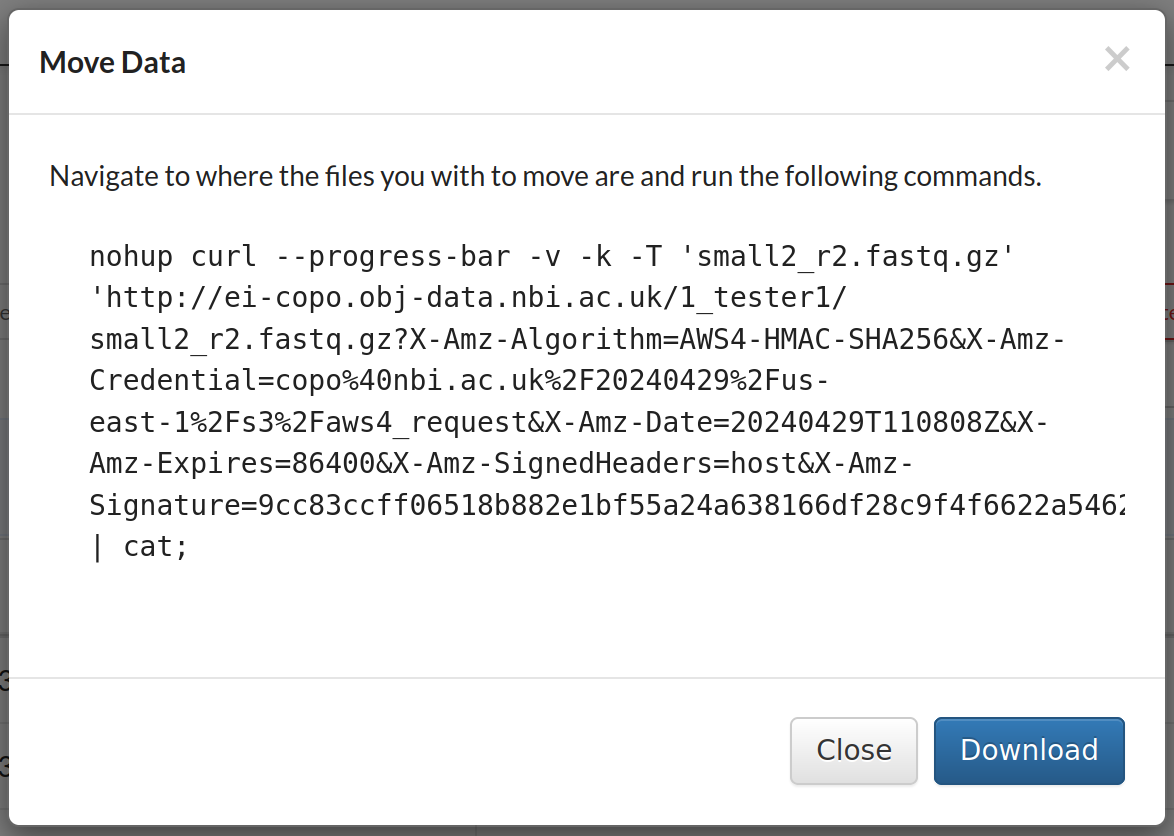
Move Data dialogue: Command outputted after having clicked command in the
Processbutton. Download the command displayed.The downloaded file will have unknown or download as the file name depending on the browser you are using.

Paste the copied command in the terminal
Alternatively, you can make the downloaded file executable then, run the file in the directory where the files are located:
-
The new file(s) will be displayed on the Files web page after a successful file submission via the terminal i.e. after the command has been executed successfully in the terminal.
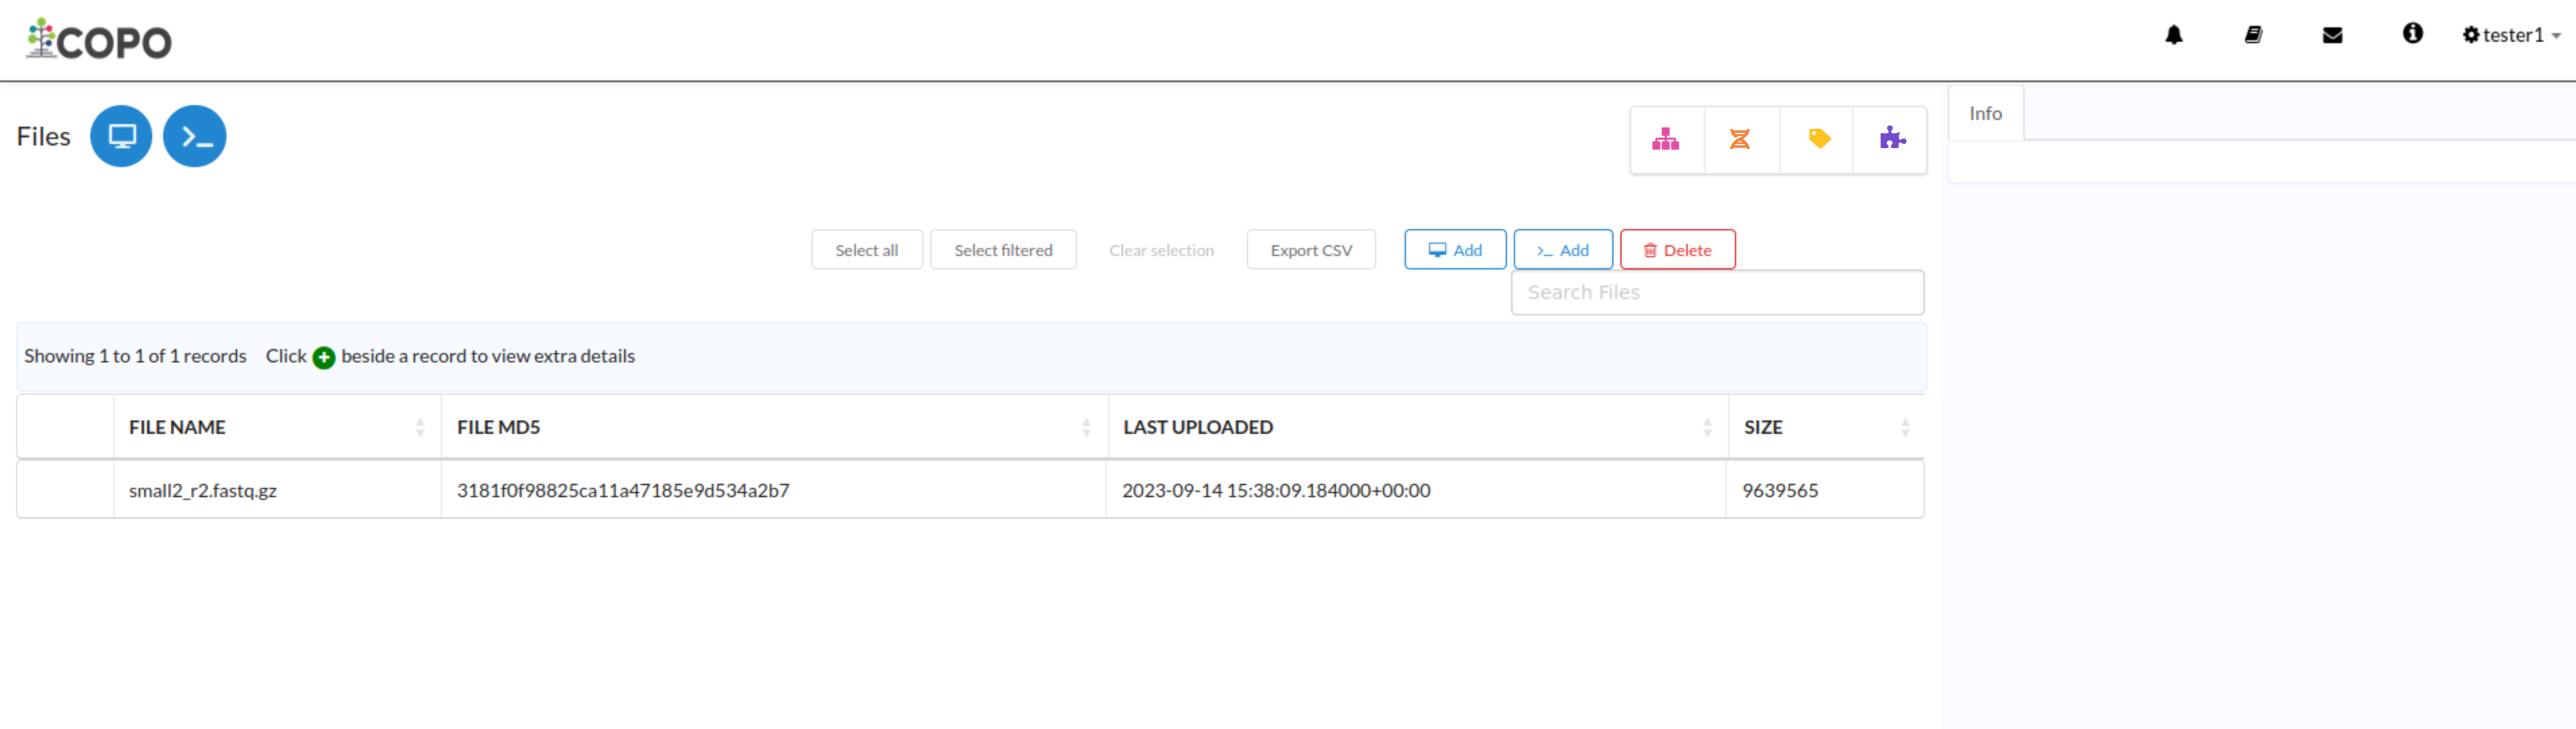
Files submission: Files’ web page displaying the uploaded file(s)
Hint
To add more files via the terminal, click the
 button (once files have been
submitted to the profile) as an alternative to clicking the button.
button (once files have been
submitted to the profile) as an alternative to clicking the button.


How to Delete Files
Click the desired file from the list of files displayed on the Files’ web page. Then, click the Delete button (located in the top-right corner of the table) as shown below:
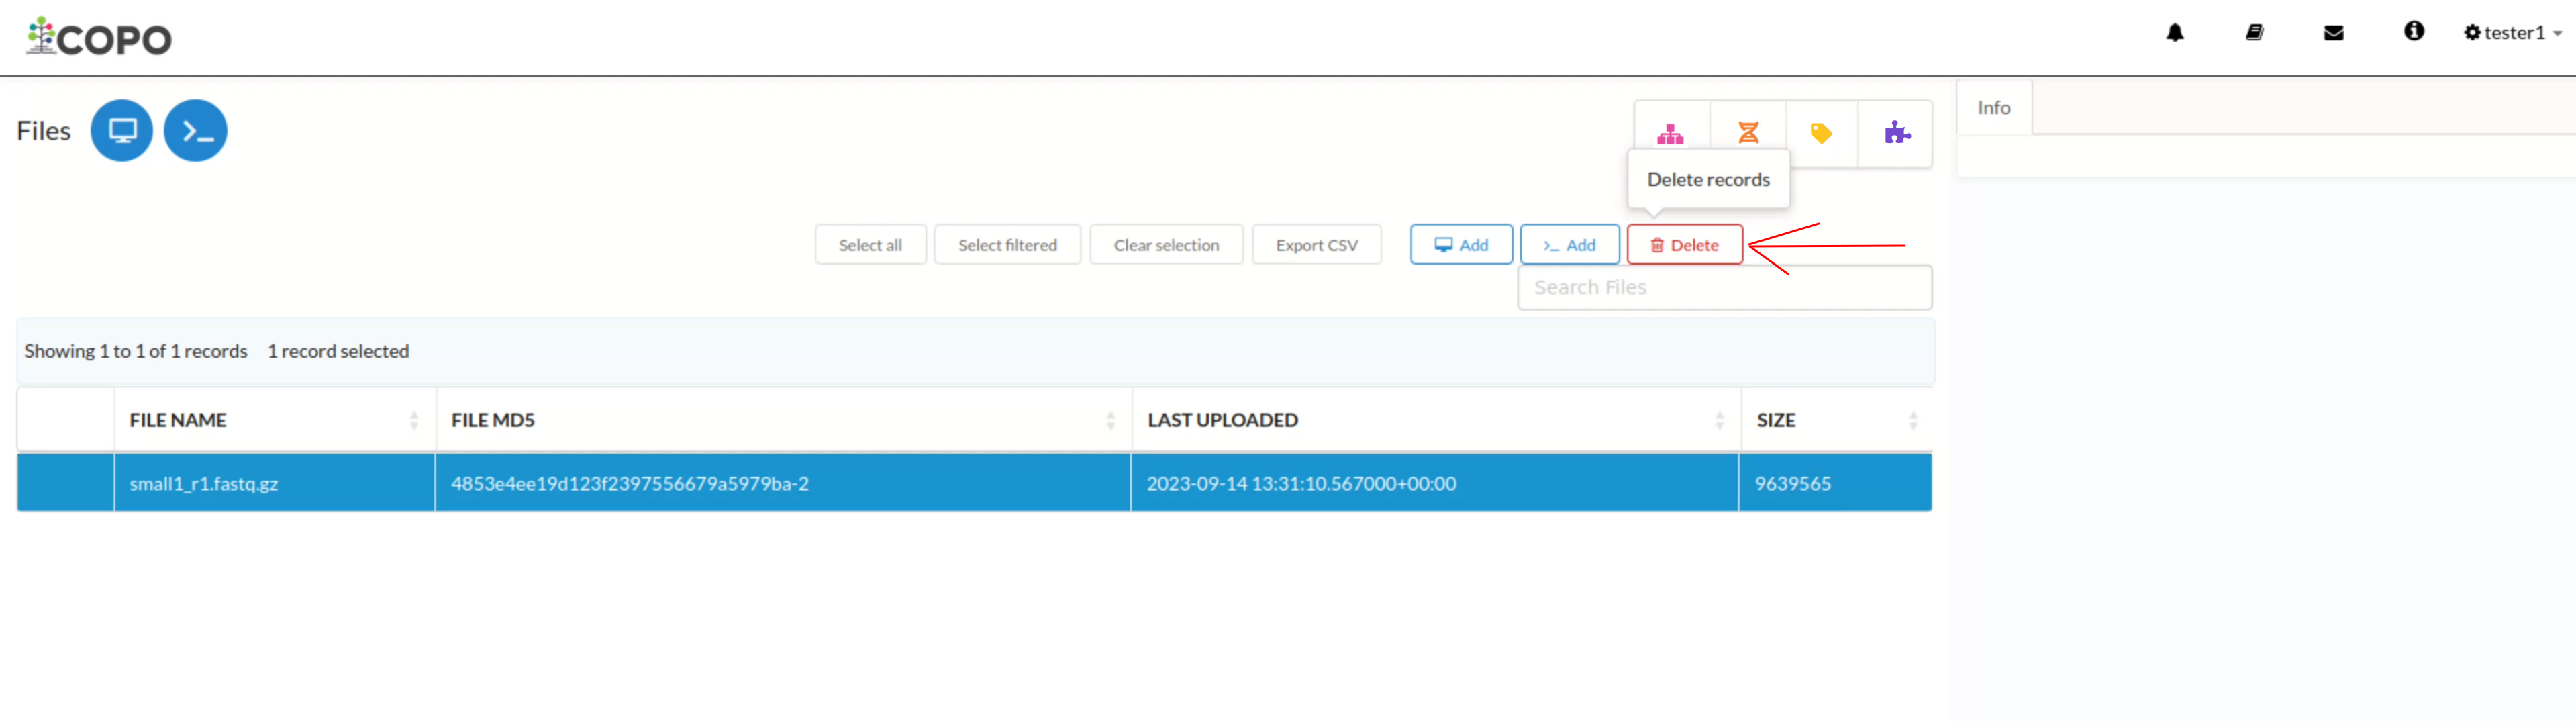
File deletion: Click the “Delete” button to remove the highlighted file from the profile
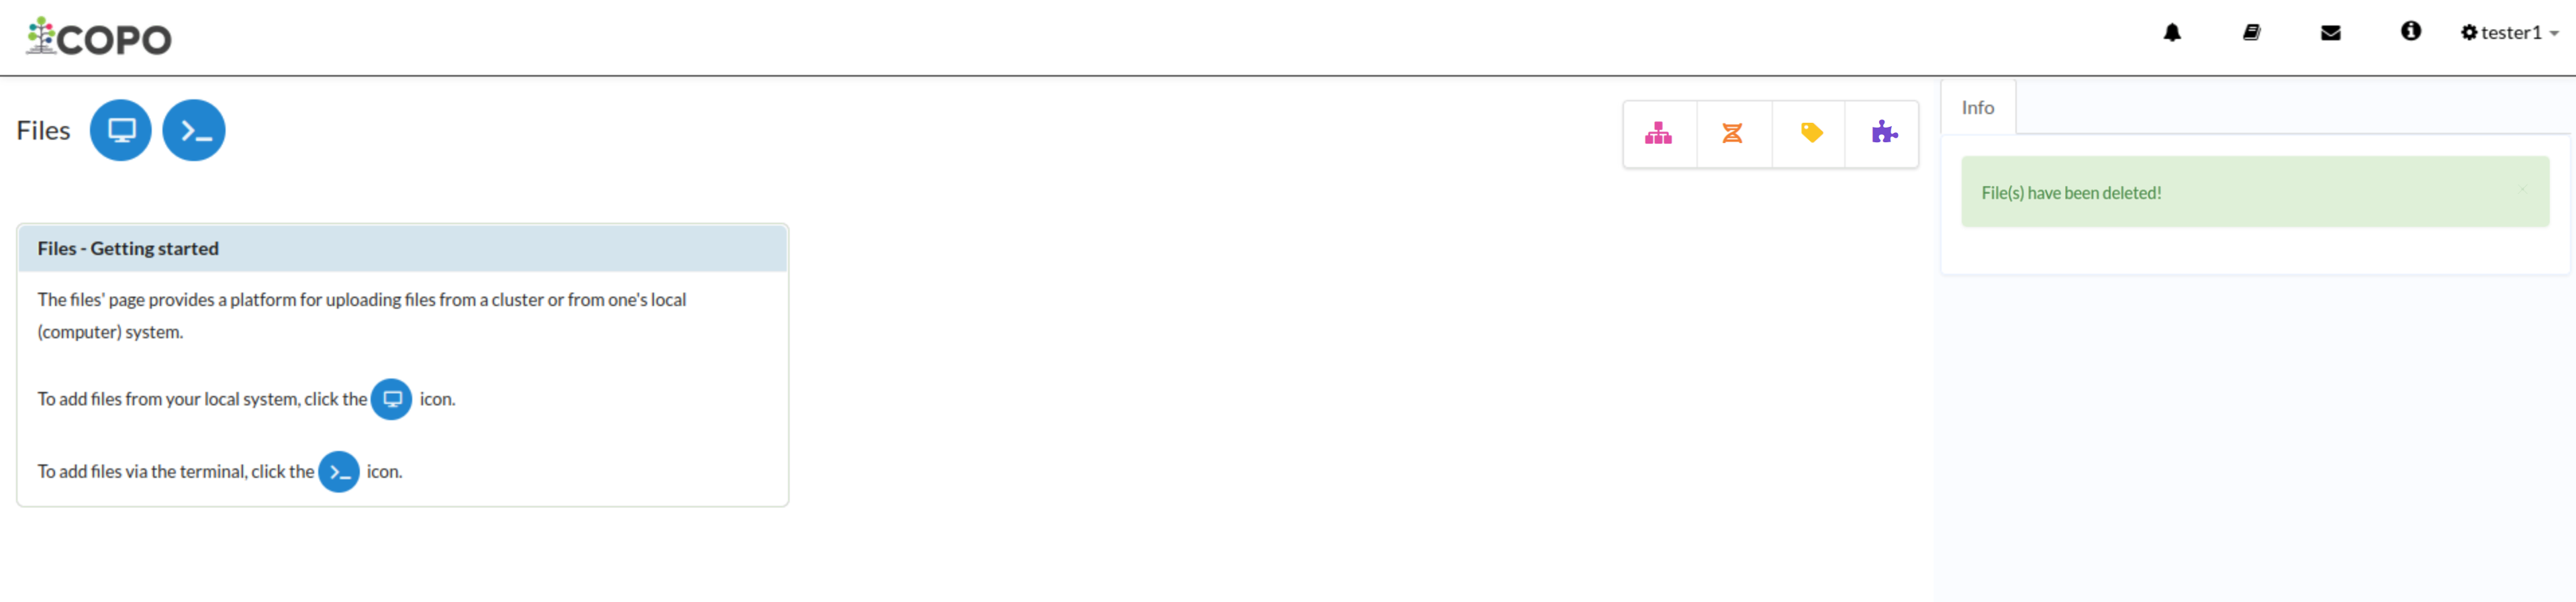
File deletion: File has been deleted
Checking ENA File Upload Status
Note
A reads, annotations or assembly submission must be completed before the file(s) can be uploaded to ENA (European Nucleotide Archive).
After having completed a reads, annotations or assembly submission and associated a file(s) to it during the submission process in COPO, the file(s) are submitted to ENA (European Nucleotide Archive).
The status of the file(s) uploaded to the ENA can be checked in the column, ENA File Processing Status, on the reads, annotations or assembly web page.
The ENA File Processing Status column is highlighted with a red rectangle border in the image below:

ENA File Processing Status: The status of the file(s) uploaded to ENA (European Nucleotide Archive)
Hint
Rows with a status of “File archived: PUBLIC” or in a green colour indicate that the file(s) have been successfully submitted to ENA.
Rows with a status of “Invalid file integrity: PRIVATE” or in a red colour indicate that the file(s) failed to be submitted to ENA.
Footnotes